This tutorial was written by me on 25th April 2010 It assumes you have working knowledge of PSP and Animation Shop and it's tools, was written in Version 9, feel free to merge layers as when needed, unless otherwise stated
You will Need: >
Template1 twilight by Yvette > blog no longer available
My supplies here >
My supplies here >
eye Candy 4000 > Gradient Glow
Open the template and duplicate and close the original > image >
canvas size 600 x 600 > delete the copyright layer > Click on the square > float >
defloat > open paper1 and paste as a new layer > invert and delete > delete the original click on the rectangles >
float > defloat > open paper2 and paste as a new layer > invert and delete and delete the original >
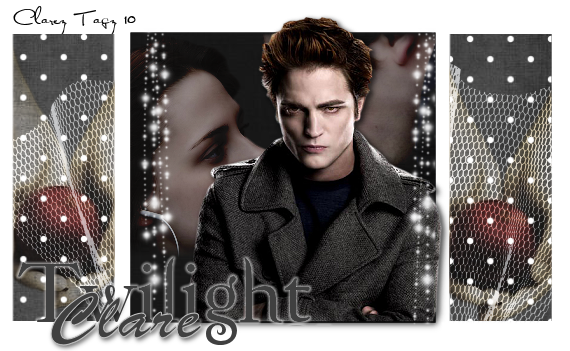
Open edward1 and paste as a new layer and position ( see mine ) > drop shadow
canvas size 600 x 600 > delete the copyright layer > Click on the square > float >
defloat > open paper1 and paste as a new layer > invert and delete > delete the original click on the rectangles >
float > defloat > open paper2 and paste as a new layer > invert and delete and delete the original >
Open edward1 and paste as a new layer and position ( see mine ) > drop shadow
click on the rectangles > float > defloat > open apple and paste as a new layer > resize 75% >
twice position and place in both rectangles > invert and delete > change the blend mode to overlay and lower the opacity to around 80
twice position and place in both rectangles > invert and delete > change the blend mode to overlay and lower the opacity to around 80
Add a thin white gradient glow to the twilight text and delete the obssessed layer >
open the net and paste as a new layer and drag below the tubes and over the two rectangles >
using your selection / eraser tool erase the netting in the middle section > lower opacity to 75
open the sparkles and paste on the middle section > duplicate > mirror and merge together
click on the square > float > defloat > open the ed and bella tube > resize 50% and paste as a new layer and position under edward >
invert and delete > change the blend mode to hard light and lower the opacity to 70
add any text you would like > add your mark > crop around the tag and delete the white background layer >
merge visible and save as a .png
If you have any questions or comments regarding this tutorial please leave me a comment below or write a message
in my Chat Box, alternatively you can email me at clare_33@live.co.uk
No comments:
Post a Comment